Chewy Brownies
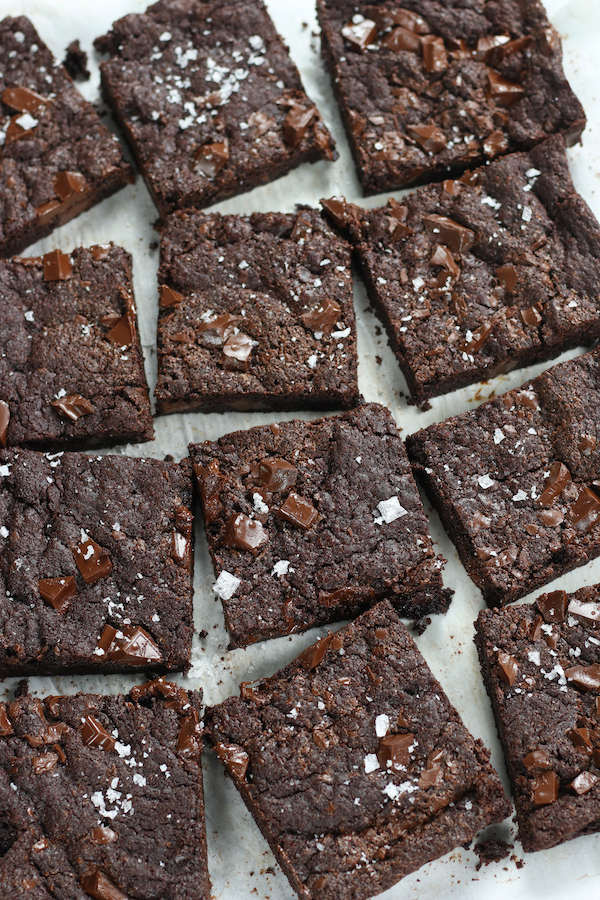
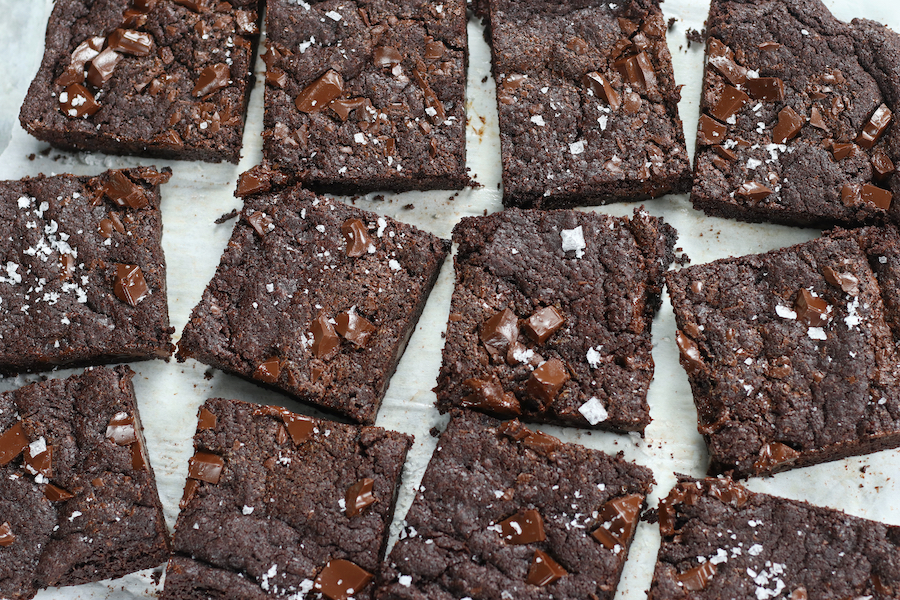
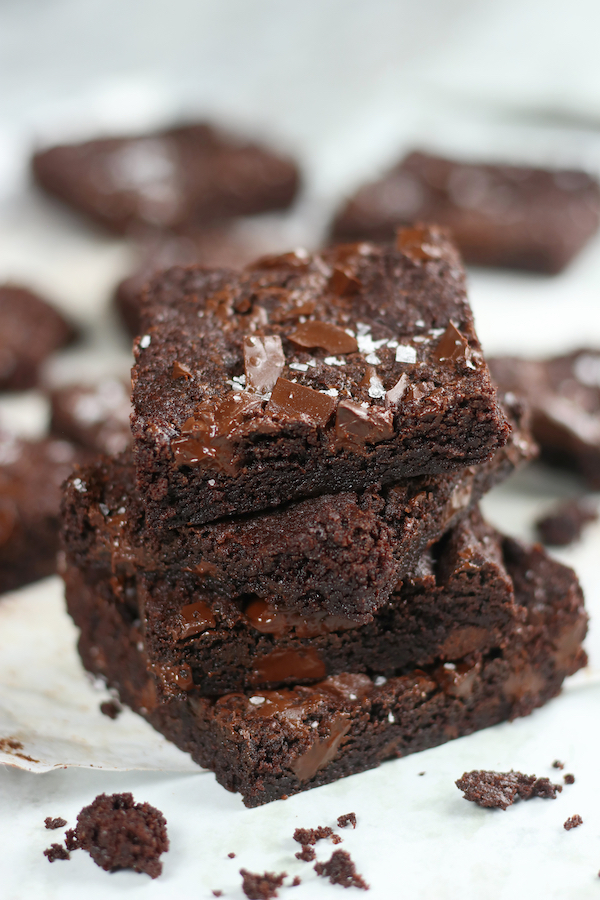
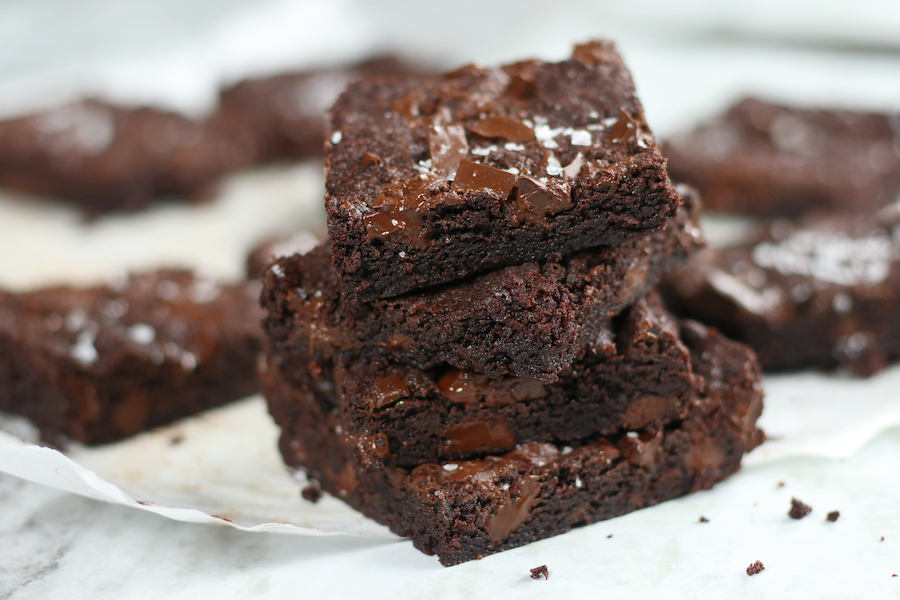
These indulgent Chewy Brownies are a chocolate dream come true. They are fudgy, with a perfect balance of chewiness and richness in every bite, ready in a snap and oh-so-satisfying. It’s basically baking up a pan of happiness.
This post may contain affiliate links which I earn a small portion in sales if a purchase is made. Rest assured though, it is never at any additional cost to you.
Secret to Chewy Brownies
Crafting chewy brownies is all about choosing the right ingredients along with a few other secrets. Combining the richness of melted butter with a blend of baking powder and Dutch-processed cocoa ensures a deep chocolate flavor. Egg yolks add texture, while melted chocolate chunks, dispersed throughout, provide pockets of gooey richness. Lastly, making sure to not over bake the brownies is crucial. They should be slightly gooey in the middle to help create chewiest of brownies.
Ingredients Needed
- Melted Butter– Butter contains water and milk solids, which adds moisture and tenderness to the brownies. Additionally, butter adds amazing flavor. Note: Taking the extra step to brown the butter gives the brownies a deep nutty flavor. See “Infusing Richness with Browned Butter” section below.
- Granulated Sugar– Besides sweetness, granulated sugar plays a key role in the texture of brownies. It dissolves during baking, creating a delightful crisp crust on top, while also contributing to the overall chewiness.
- Egg Yolks– Egg yolks are rich in fat, adding both moisture and a luscious texture to brownies. They also help in emulsifying the batter, ensuring a smooth, cohesive mixture.
- Vanilla Extract– Vanilla extract enhances the chocolate flavor in brownies, giving them a more complex taste. Its aromatic qualities add depth, making the brownies more enticing.
- All-Purpose Flour– All-purpose flour provides structure. Make sure to stir the dry ingredients into the wet until just combined to maintain the desired chewy consistency.
- Dutch-Processed Cocoa Powder– Dutch-processed cocoa powder is treated with an alkali, reducing its acidity. This process results in a deep chocolate fudgy flavor.
- Baking Powder– Provides leavening, giving the brownies a slight rise. A small amount can enhance the chewy yet tender texture.
- Salt– Salt is a flavor enhancer that balances the sweetness and intensifies the chocolate flavor. In small amounts, it adds depth without making the brownies taste salty. Note: Maldon’s Flakey Sea Salt was sprinkled on top for extra gourmet appeal.
- Chocolate Chunks– Chocolate chunks, when melted, create pockets of gooey goodness throughout the brownies. Their irregular shape ensures a variety of textures, from smooth melted chocolate to slightly firmer bits, adding a delightful richness to each bite.
How To Make Chewy Brownies From-Scratch
- Preheat oven to 350°F.
- Grease and line a 9×13-inch pan with parchment paper.
- Melt butter and cool slightly.
- Whisk dry ingredients together.
- Mix melted butter, sugar, yolks, and vanilla together.
- Gently combine wet and dry mixtures making sure to not overmix.
- Fold in about 3/4 of chocolate chunks.
- Spread batter in pan, sprinkle remaining chocolate chunks and bake 25-30 mins. Make sure to not over bake. Brownie center should be slightly gooey.
- Cool completely and then cut into squares.
Two Different Types of Cocoa Powder
When making homemade brownies, the choice of cocoa powder plays a significant role in shaping the flavor’s depth and richness of the brownies. Understanding the different types of cocoa powder is crucial in creating the perfect textured brownie for you and your family.
Natural Cocoa Powder
Often called cacao powder, natural cocoa powder is acidic and offers a deep, intense chocolate flavor. Its acidity reacts with baking soda to provide leavening, resulting in a softer, chewier brownie texture. These brownies tend to be lighter in color and have a more robust, classic chocolate taste.
Note: If substituting natural cocoa powder for Dutch-processed cocoa powder, eliminate the baking powder and substitute it with baking 1/2 teaspoon of baking soda.
Dutch-Processed Cocoa Powder
Dutch-processed cocoa powder is treated with an alkaline solution, reducing its acidity. This process creates a milder, smoother flavor profile, often described as “dark chocolate.” Brownies made with Dutch-processed cocoa powder tend to be darker. They can be slightly less acidic, providing a mellower taste while still achieving a chewy texture.
Oil vs Butter
When making homemade brownies the choice between oil and can significantly influence the taste, texture and overall indulgence of the classic treat. However, the choice between wether to use oil or butter comes down to a personal preference.
Butter: The Classic Indulgence
Butter, known for its decadent richness, has long been a fundamental ingredient in baking. In brownies, it imparts a luxurious flavor and a soft texture. Butter adds a pleasant aroma and a profound taste that baking enthusiasts appreciate. Its fat content plays a significant role in keeping brownies moist, resulting in a delightful, melt-in-the-mouth and chewy experience.
Oil: A Worthy Alternative for Chewy Brownie Enthusiasts
While melted butter takes the lead as the preferred choice, oil presents a solid option for those desiring a delicious brownie. Its unique composition ensures a tender and moist texture brownie. Despite lacking the water content found in butter, oil maintains its moistness even after cooling, creating a gooey center that appeals to chocolate enthusiasts. While butter remains the top choice, oil stands as a practical alternative for making irresistible brownies.
Note: Achieving the desired chewiness also depends on baking time. Overbaking the brownies can result in a drier texture, so it’s essential to monitor them closely and take them out of the oven when they are slightly underbaked. This will keep them moist and chewy, as they will continue to cook a bit even after being removed from the oven due to the residual heat.
Infusing Richness with Browned Butter
Browned butter enriches brownies with a deep, nutty complexity. The toasty aroma and caramelized notes it imparts elevate the overall flavor, transforming ordinary brownies into a gourmet indulgence. It is not necessary to use browned butter, but anyone looking for a bit more of a luxurious flavor, this is the way to go.
Steps and Tips to Browning Butter
- Use the Right Pan– Choose a light-colored saucepan or skillet, such as stainless steel. This will allow you to see the color change of the butter more clearly.
- Cut Butter Into Even Pieces– Cut the butter into uniform pieces. This ensures even melting and browning.
- Melt the Butter– Place the butter pieces in the saucepan or skillet over medium heat. Use a wooden spoon or a heatproof spatula to stir occasionally.
- Watch for Foaming– As the butter melts, it will start to foam. Keep stirring gently. The foam will gradually subside, and you’ll start to see the milk solids at the bottom of the pan.
- Observe the Color Change– The butter will go through stages of bubbling and hissing. After the foam subsides, the milk solids at the bottom will begin to turn golden brown. Stir the pan gently to ensure even browning. The butter will have a nutty aroma.
- Watch Closely– Butter can go from browned to burnt very quickly, so keep a close eye on it. When it reaches a golden amber color and has a rich, nutty aroma, immediately remove it from the heat. The whole process usually takes 5-8 minutes.
- Transfer to a Bowl– Pour the browned butter into a heatproof bowl, leaving the darker sediment in the pan. This sediment can taste bitter, so it’s best not to include it in your recipe.
- Cool Slightly– Let the browned butter cool for a few minutes before using it in your recipe. It should be warm but not hot when you add it to other ingredients.
Storage
Place cooled brownies in an airtight container, separating layers with parchment paper to prevent sticking. Brownies can stay fresh at room temperature for up to 2 days. Ensure the container is sealed well to retain moisture
For longer storage, refrigerate brownies in the airtight container for up to a week. Let them come to room temperature before serving for the best texture. To extend shelf life, tightly wrap individual brownies in plastic wrap and then foil. Store them in a freezer-safe bag for up to 3 months. Thaw overnight in the refrigerator before enjoying.
Troubleshooting
Dry Crumbly Brownies
Dry and crumbly brownies often result from overbaking. Brownies continue to cook a bit even after you take them out of the oven due to residual heat. Start checking for doneness a few minutes before the recommended baking time, and use a toothpick inserted into the center to ensure it comes out with a few moist crumbs, not completely clean.
Cakey Texture
Cakey brownies are usually the result of using too much flour or overmixing the batter. To achieve chewy brownies, measure flour properly and avoid overmixing.
Sticking to the Pan
Brownies can stick to the pan if they are overbaked , if the pan is not properly greased or lined with parchment paper. To prevent sticking, ensure that you thoroughly grease the pan, especially the corners or use parchment paper to create an easy lift for the brownies.
Unevenly Baked
Uneven baking can occur due to an uneven oven temperature or placing the brownie pan too close to the oven’s heating element. To ensure even baking, rotate the pan halfway through the baking time and use an oven thermometer to confirm your oven’s temperature accuracy.
More Classic Dessert Recipes
Oatmeal Raisin Coconut Cookies
Chewy Brownies
Ingredients
- 1 cup unsalted butter *(2 sticks), see Note #1 below for making browned butter
- 2 cups granulated sugar
- 4 large egg yolks *room temperature, or 2 whole eggs, see Note #2 below
- 2 teaspoons vanilla extract
- 1 cup all-purpose flour
- 3/4 cup Dutch-processed cocoa powder * sifted, see Note #3 below
- 1/2 teaspoon baking powder
- 1/4 teaspoon salt *see Note #4 below
- 1 cup semisweet chocolate chunks *see Note #5 below
Instructions
- Preheat your oven to 350°F. Grease and line a 9×13-inch baking pan with parchment paper, leaving an overhang on two opposite sides for easy removal.
- In a microwave-safe bowl, melt the butter in short bursts in the microwave or melt it on the stovetop. Allow it to cool slightly.See Note #1 below for making browned butter.
- In a medium sized mixing bowl, whisk together the flour, cocoa powder, baking powder, and salt
- In a seperate large mixing bowl, combine the melted butter and sugar. Mix until well combined. Add the egg yolks and vanilla extract. Beat the mixture until smooth and creamy.
- Gradually add the dry ingredient mixture into the wet ingredients, stirring until just combined. Do not overmix.
- Fold in the semisweet chocolate chunks into the brownie batter, reserving a handful to sprinkle on top if desired.
- Transfer the batter into the prepared baking pan, pressing and spreading it out evenly. If you reserved some chocolate chips, sprinkle them over the top.
- Bake in the preheated oven for 25-30 minutes, or until a toothpick inserted into the center comes out with a few moist crumbs. Be careful not to overbake; the brownies should be slightly gooey in the middle for a chewy texture. See Note #6 below.
- Allow the brownies to cool completely in the pan on a wire rack. Once cooled, lift the brownies out of the pan using the parchment paper overhang and place them on a cutting board. Use a sharp knife to cut into squares or rectangles.
Notes
Brown Butter Steps
- Choose the Right Pan- Opt for a light-colored stainless steel pan for better visibility of butter’s color change.
- Uniform Butter Pieces- Cut butter into even pieces for even melting and browning.
- Melt and Stir- Heat butter in the pan over medium heat, stirring occasionally with a wooden spoon or spatula.
- Foaming Stage-Watch for foaming; stir gently until foam subsides and milk solids appear at the bottom.
- Observe Color Change-Butter will bubble, hiss, and turn golden brown with a nutty aroma. Stir gently for even browning.
- Be Vigilant-Butter can quickly turn from browned to burnt. Remove from heat when it’s golden amber with a rich aroma (usually 5-8 minutes).
- Transfer and Cool-Pour into a heatproof bowl, leaving sediment in the pan (can taste bitter). Cool briefly before using.

